
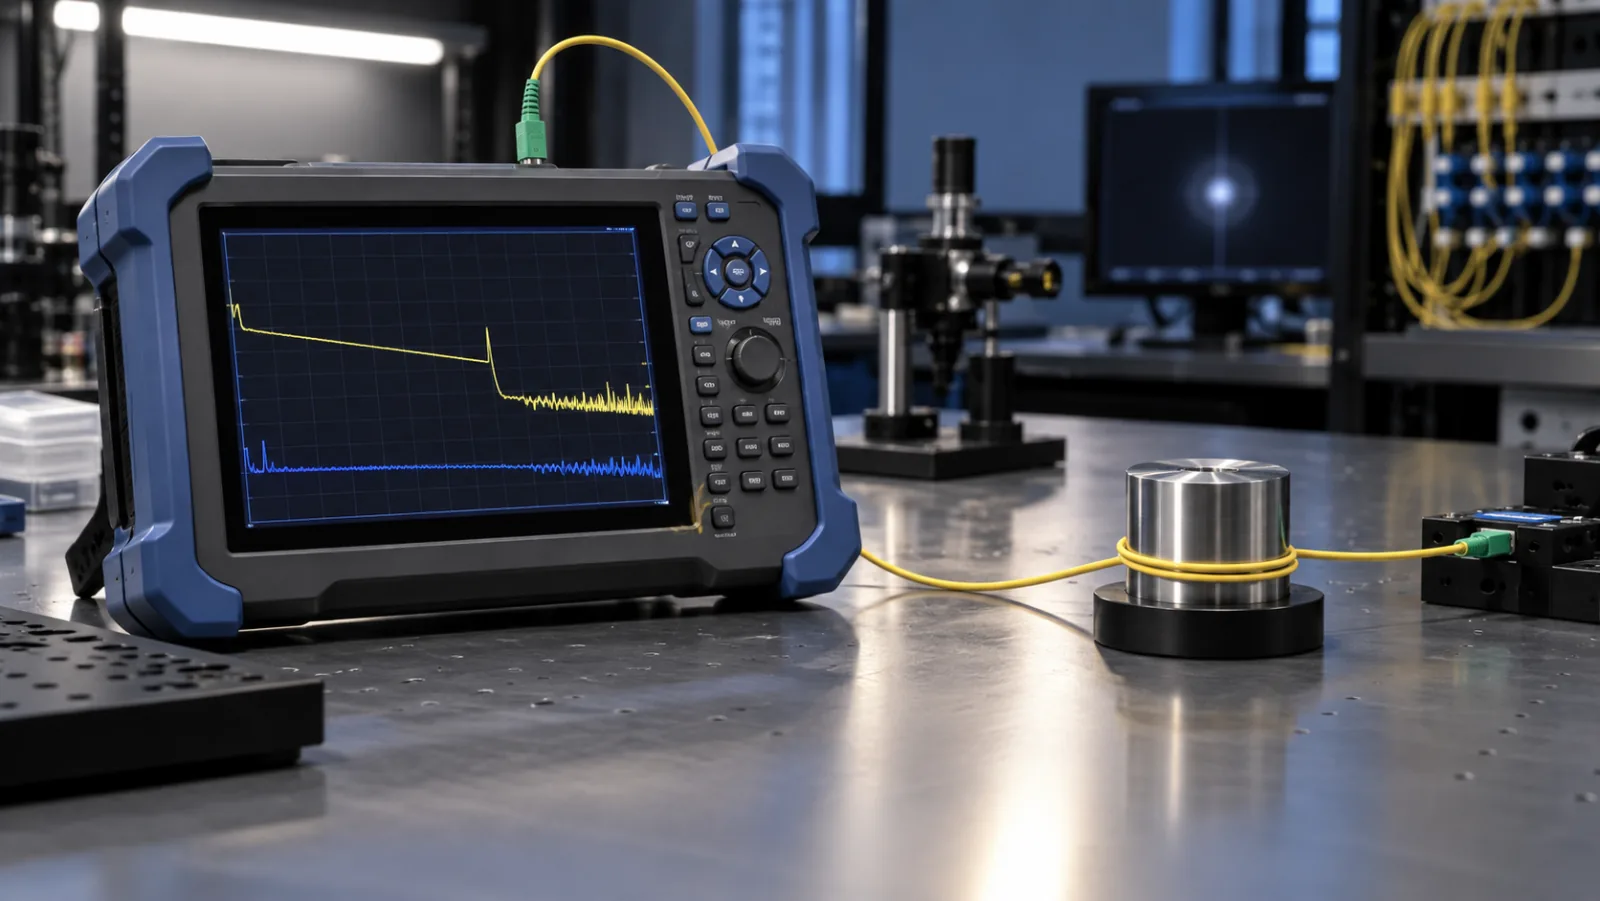
Summary: For single-mode links, a localized event that loses materially more power at 1550 nm than at 1310 nm is a useful macrobend indicator. Reliable OTDR macrobend detection at 1310 vs 1550 requires comparable traces, the same event position and confirmation that connectors, splitters or trace noise are not creating a false diagnosis.
The numerical event below is hypothetical and is not field evidence from Liqiba. A wavelength difference is a diagnostic clue, not proof of the physical cause; inspect the route and retest after correction.
Why the longer wavelength is more sensitive
Light at longer wavelengths is generally less confined when a single-mode fiber is bent, so bend loss often rises at 1550 nm relative to 1310 nm. Fluke Networks’ OTDR guide recommends testing stressed or kinked single-mode fiber at both 1310 and 1550 nm and notes the higher wavelength’s increased bend sensitivity.
The baseline fiber attenuation also differs with wavelength. Compare the localized event loss, not merely total span loss. A gradual difference across the whole trace can reflect normal wavelength-dependent attenuation rather than one tight bend.
Acquire traces that can be compared
Use the same instrument, launch and receive leads, route state, direction, range and compatible event-analysis settings. Choose a pulse width that resolves the suspected event while maintaining adequate signal-to-noise ratio. Clean and inspect accessible connectors before testing.
EXFO’s OTDR user guide describes macrobend identification by comparing loss at the same location across wavelengths. It mentions a configurable delta threshold; an instrument default is not a universal acceptance limit.
Locate the event before naming the cause
Reconcile launch-lead length and group index, then map the event to a closure, tray, cabinet, slack loop or pathway transition. A reflective event suggests a connector or mechanical discontinuity; a non-reflective wavelength-sensitive event is more consistent with bending but still needs inspection.
Our macrobend versus microbend guide explains the physical distinction. The OTDR group-index guide shows why an incorrect index moves the reported distance.
Confirm the repair instead of editing the trace
At the mapped location, look for a tight tie, pinched tray cover, undersized loop, kink, sharp raceway edge or cable compression. Release stress without violating live-system safety, restore the manufacturer’s minimum bend radius, then repeat both wavelengths using the saved setup.
Keep before-and-after native files. A true correction should reduce the localized differential and may improve total link loss. If the event remains, reconsider its identity, inspect adjacent components and test from the opposite direction where the project procedure permits.
Dual-wavelength event calculation
Assume the same non-reflective event is measured under comparable settings. Define wavelength differential ΔL as event loss at 1550 nm minus event loss at 1310 nm.
| Measurement | Hypothetical result | Interpretation |
| 1310 nm event loss | 0.12 dB | Reference |
| 1550 nm event loss | 0.74 dB | Higher bend-sensitive loss |
| ΔL | 0.74 − 0.12 = 0.62 dB | Flag for investigation |
| After correction | 0.10 / 0.13 dB | Differential reduced |
Do not adopt 0.62 dB or any instrument default as a universal limit. Set an investigation threshold from the project specification, instrument capability, fiber type and expected uncertainty.
Turn the method into a procurement specification
A useful request for quotation identifies the application, fiber type, connector or cable construction, operating wavelengths, environmental range, installation method and the evidence required at delivery. It separates mandatory acceptance limits from preferences. Asking only for “high quality” leaves supplier and buyer with different interpretations; a measurable requirement gives both parties the same decision point.
Record units, reference conditions and rounding rules. State whether a value is maximum, typical or informational, and whether it applies to every unit, a sample or a type test. Where a standard defines a method but the project chooses the limit, cite both separately. The project owner should resolve conflicts among the drawing, purchase order, product data sheet and field procedure before work starts.
For relevant products, use the commercial fiber optic tools page. Send the route, interface or test details with the inquiry so the proposed construction can be checked against the actual application rather than selected by a generic label.
Build an auditable acceptance record
The record should connect the asset identifier to the instrument, settings, operator, date, reference method and result. Preserve native test files when the instrument creates them; a screenshot alone can hide settings or event detail. Photographing labels and end positions can reduce later ambiguity, but photographs do not replace optical or mechanical evidence.
Use a defined disposition for a result near or beyond the limit: verify identification, inspect the setup, repeat only under the written repeatability rule, and then accept, rework or escalate. Do not keep testing until one favorable reading appears. If uncertainty is material, use a guard band or engineering review established before testing.
After installation, keep the approved design value, as-built value and any deviation together. That baseline supports troubleshooting after moves, adds or environmental changes. It also prevents a later team from treating a planning calculation as factory data or a field observation as a universal product specification.
Common mistakes to prevent
Do not compare traces taken with incompatible pulse widths and then attribute every event-table difference to a bend. Do not confuse a splitter, gain-like splice, saturated reflection, ghost or noisy end region with a localized macrobend. Never disconnect a live production link without authorization.
Another frequent error is copying a number from a different cable, splitter, connector or instrument. Manufacturer limits depend on construction and test conditions. Confirm the exact data sheet and revision. When a worked value in this article is used, retain its assumptions and replace them with project values before making a purchase or acceptance decision.
Finally, keep safety and handling instructions in the work package. Optical fibers create sharp fragments; live systems may carry invisible radiation; pulling and test equipment can store mechanical energy. Qualified personnel should follow the site procedure, product instructions and applicable regulations.
Use a pre-work review and hold point
Before installation or testing begins, review the latest drawing, bill of materials, product revision and acceptance procedure with the people who will perform the work. Confirm which document controls if values disagree. Assign a unique identifier to the link or component and place that identifier on the worksheet, instrument file and any photograph. This prevents a technically correct result from being attached to the wrong asset.
Create a hold point before concealed work is closed or an irreversible change is made. Check the physical routing, labels, connector condition, test reference and recorded settings. If the result is abnormal, pause while the relevant section remains accessible. The hold point should identify who can release the work and what evidence is required.
Evaluate changes after delivery
Transport, storage and installation can change condition after a supplier’s outgoing inspection. Define which checks occur at receipt, before installation and after completion. Keep packaging damage, seal condition and storage observations with the receiving record. Do not treat a factory certificate as proof that later field handling caused no change.
When a repair, reroute or replacement occurs, update both the technical record and configuration drawing. Reuse the same measurement method where practical so results remain comparable. If a new instrument or procedure is necessary, document the difference instead of presenting unlike measurements as a continuous trend. A clear change history makes future fault isolation faster and supports fair supplier discussions.
Archive superseded worksheets without deleting them, mark the approved revision clearly, and give field teams read access to the version that governs their work.
Frequently Asked Questions
Why compare 1310 and 1550 nm for a macrobend?
A tight bend in single-mode fiber commonly produces greater localized loss at 1550 nm, making the wavelength differential useful for diagnosis.
Is a 0.5 dB wavelength difference always a failure?
No. Some instruments use configurable defaults, but the project must define its own threshold and decision rule.
Can an OTDR prove that a cable tie caused the bend?
No. It can locate a wavelength-sensitive event; physical inspection and before/after retesting establish the likely cause.
Should the two traces use the same pulse width?
Use comparable acquisition conditions whenever practical so event loss and resolution differences are not caused by the setup.
Can insertion-loss testing replace the OTDR check?
Insertion loss verifies the whole link but does not localize the bend. The methods answer different acceptance questions.







