
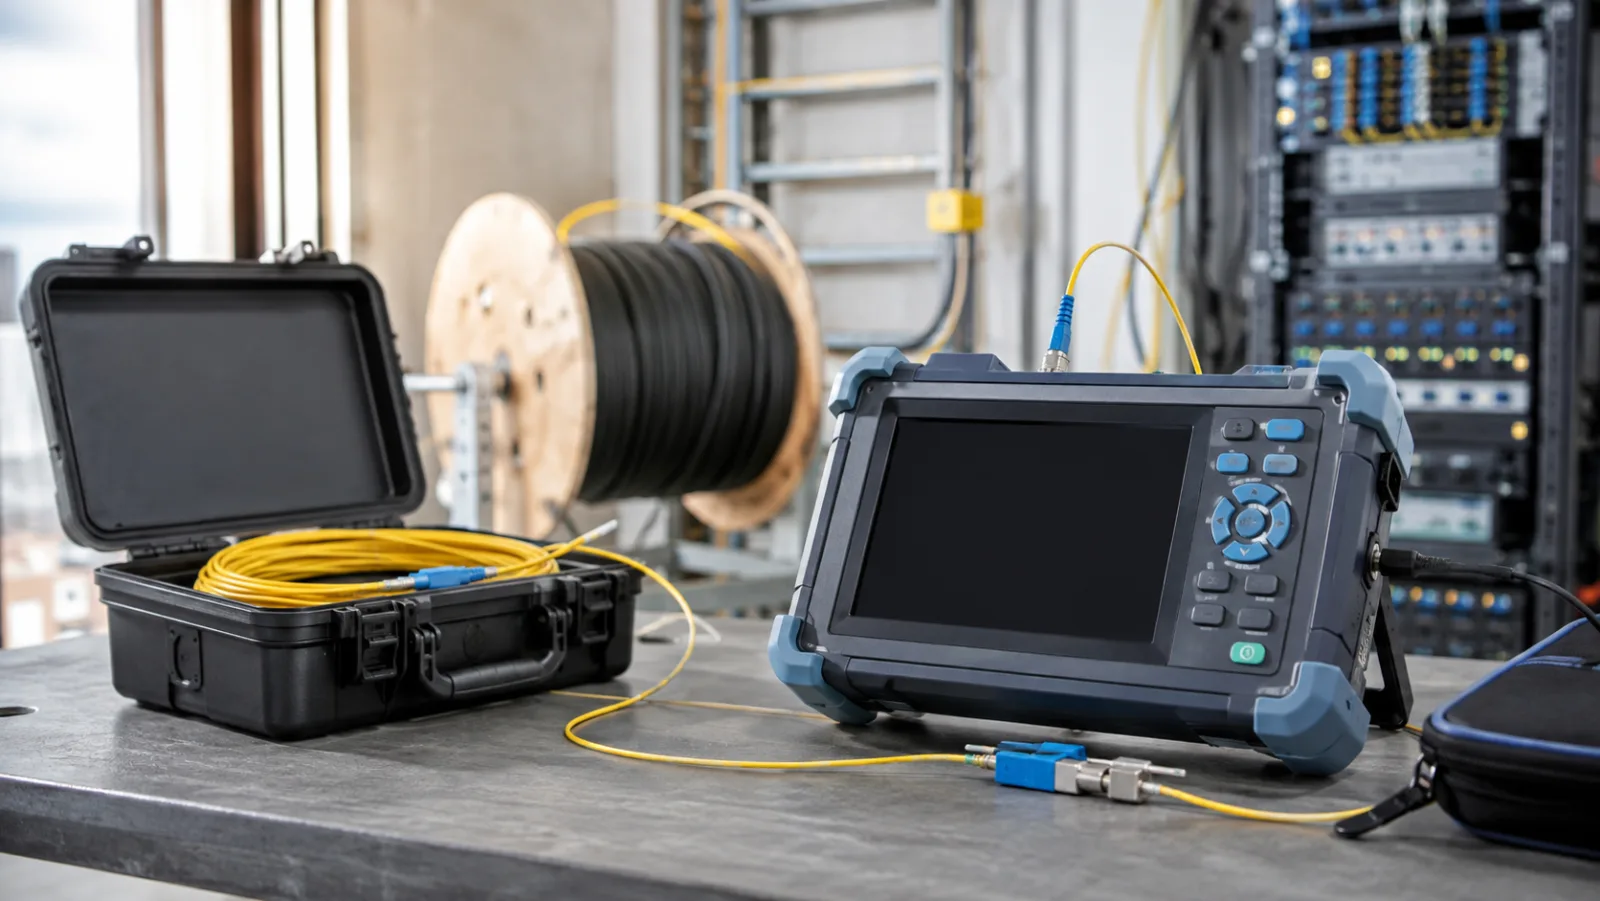
Summary: An OTDR index of refraction distance error occurs when the instrument converts measured pulse travel time using an unsuitable group-index value. The same event can then appear at the wrong distance even though the underlying timing data are unchanged. Correct the fiber and wavelength setting first, then account separately for launch leads, cable construction and route slack.
The goal of fault location is to turn an optical event into a useful physical search area. That requires more than reading a distance marker. This guide separates the optical calculation from cable and geographic mapping, with two original worked examples.
What the OTDR measures and what it calculates
An OTDR launches pulses and observes returned optical energy over time. The trace distance axis is calculated from the round-trip travel time and an assumed propagation speed. In a simplified uniform fiber, distance L equals c times t divided by twice the effective group index n:
L = c × t ÷ (2 × n)
The factor of two accounts for travel to the event and back. The group index describes pulse propagation for the relevant fiber and wavelength. It should not be confused with a generic phase-index value quoted for bulk glass.
EXFO’s OTDR user guide describes the index setting as group index and notes its effect on distance measurements. Obtain the appropriate value from the cable or fiber documentation and apply it through the procedure supported by the instrument software.
Worked example: a 10 km fiber with an incorrect setting
Assume a uniform fiber is exactly 10,000 m long and its actual group index at the test wavelength is 1.4682. Assume ideal timing with no other errors. If the OTDR instead uses 1.4600, its displayed distance is:
10,000 × 1.4682 ÷ 1.4600 = 10,056.16 m
The error is about +56.16 m, or +0.562 percent. These values are hypothetical; 1.4682 is not being prescribed for all single-mode fibers. The example isolates index error so the direction and scale of its effect can be understood.
| Entered group index | Displayed distance for the same assumed event | Difference from 10,000 m |
|---|---|---|
| 1.4600 | 10,056.16 m | +56.16 m |
| 1.4682 | 10,000.00 m | 0.00 m |
| 1.4700 | 9,987.76 m | −12.24 m |
For a fixed time measurement, a higher entered index produces a shorter displayed distance. If the same index mismatch applied to 20 km of otherwise identical fiber, the scale error would approximately double. This is why an apparently small parameter difference can matter during field localization.
Separate scale error from other distance effects
| Cause | Typical interpretation | Appropriate check |
|---|---|---|
| Incorrect group index | Distance scale changes along the trace | Fiber-specific value at each test wavelength |
| Launch lead included | Installed route begins after an optical offset | Launch compensation and start marker |
| Service loops | Fiber or cable length exceeds map distance locally | As-built loop inventory |
| Excess fiber within cable | Fiber length differs from sheath length | Manufacturer construction data or validated conversion |
| Pulse and sampling limits | Closely spaced events cannot be located independently | Instrument setup and distance specification |
The FOA OTDR questions and answers explains the relationship between timing, index and distance calibration. For the broader trace behavior, EXFO’s OTDR fundamentals discusses acquisition parameters and their consequences for fault finding. An index correction does not eliminate dead zones or improve the underlying timing hardware.
From optical event distance to a route search position
Consider a separate hypothetical event displayed 6,250 m from the instrument after the group index has been verified. Assume the displayed trace still includes a 150 m launch lead and has no helix correction applied. Subtracting the lead leaves 6,100 m of installed fiber to the event.
Now assume reliable construction records establish a uniform fiber-to-sheath length factor of 1.005. The corresponding sheath distance is 6,100 ÷ 1.005 = 6,069.65 m. If records identify 120 m of cumulative service-loop cable before the event, the simplified route chainage is 6,069.65 − 120 = 5,949.65 m.
This is an educational mapping model, not a field location guarantee. Actual routes have entries, risers, slack variation and construction differences. If the OTDR already applied a helix factor or excluded its launch lead, applying the same correction again would introduce another error. Record exactly which transformations have already occurred.
Use a configuration record for every trace
Before acquisition
Record fiber type, test wavelength, entered group index, source of that value, launch and receive leads, pulse width, range and averaging time. Confirm units and the instrument’s marker reference. A screenshot alone may not retain all these settings, so preserve the original trace file and its metadata.
If the cable includes multiple fiber types or sections with different group indices, a single value may not describe the entire path accurately. Consult the instrument’s supported analysis method and document the resulting uncertainty. Avoid averaging unrelated index values without considering the lengths to which they apply.
When results disagree
Compare a known splice or endpoint against its documented optical and route distances. Determine whether the difference behaves like a fixed offset or grows with distance. That pattern can guide investigation, but it is not proof of a cause by itself. Check the launch boundary and trace settings before changing the index.
When correcting an existing trace
Use supported reanalysis functions, preserve the original, and save a revised copy with the correction reason. Do not edit a PDF label to make a reported distance match expectations. A later engineer should be able to identify which configuration produced each number and repeat the conversion.
Compare wavelengths and directions carefully
A trace acquired at a second wavelength may use a different documented group index. Copying the first wavelength’s setting without review can introduce an apparent distance difference. Compare the stored acquisition parameters before interpreting a shifted marker as physical movement or a new fault.
Likewise, measuring from the opposite end requires its own launch reference and route mapping. An event’s distance from End A plus its distance from End B should be interpreted within the same optical boundaries and uncertainty assumptions. If one measurement includes a launch lead and the other excludes it, their sum is not a clean estimate of the installed link length.
Create a discrepancy record before changing settings
Write down the expected landmark, its source, the observed distance, test wavelength, entered index and included leads. Identify whether the expected distance comes from sheath markings, an installation drawing, GIS chainage or a previous optical test. Those records describe different quantities and should not be treated as interchangeable ground truth.
For a route with several known closures, compare more than one landmark. A similar offset at each point suggests a different investigation from an error that accumulates along the route. Mixed cable sections can make the pattern piecewise rather than uniform. Use the pattern to guide verification without assuming it uniquely identifies the cause.
When reporting the final fault position, provide the optical distance and the estimated physical search interval together with the mapping assumptions. Excess decimal places on a trace marker do not imply centimeter-level certainty in a buried cable location. A practical search interval supported by records is more useful than an unjustified point coordinate.
Specify tools and launch accessories together
Our fiber optic tools for installation and testing page is the relevant commercial destination for specifying a test kit. Include the expected route length, connector interfaces, wavelengths and required fault-location uncertainty when discussing equipment. Instrument distance resolution alone does not establish total field accuracy.
The OTDR launch-cable length guide covers a related setup decision, and the installation and testing guide provides the broader acceptance workflow. Keep group-index selection distinct from choosing a launch lead or a pulse width, even though all three influence the usefulness of the result.
A reliable handover combines the original trace, verified settings, cable records and a documented optical-to-route mapping. That combination allows a fault team to narrow the physical search area while understanding the uncertainty in the displayed distance.
Frequently Asked Questions
Does increasing the OTDR index setting increase displayed distance?
For the same measured round-trip time, increasing the entered group index reduces the calculated distance. The relationship is inverse because the instrument converts time using the assumed propagation speed.
Should I use the ordinary refractive index of silica?
Use the effective group index specified for the fiber and test wavelength, following the OTDR instructions. A generic material index or a value copied from an unrelated cable is not an adequate substitute.
Can I adjust the index until the trace matches the route map?
Only use a documented calibration procedure with a suitable known-length reference. Changing the setting to force agreement can hide launch offsets, cable slack, excess fiber length or a mapping error.
Why can the OTDR length exceed the cable route length?
Optical fiber length may include excess fiber within the cable, service loops, building entry runs and launch leads. The route map may represent ground distance rather than the full optical path.
Does correcting the index improve event resolution?
It corrects the distance conversion for the stated propagation assumption. It does not shorten pulse width, remove dead zones or improve the instrument sampling and timing performance.







