
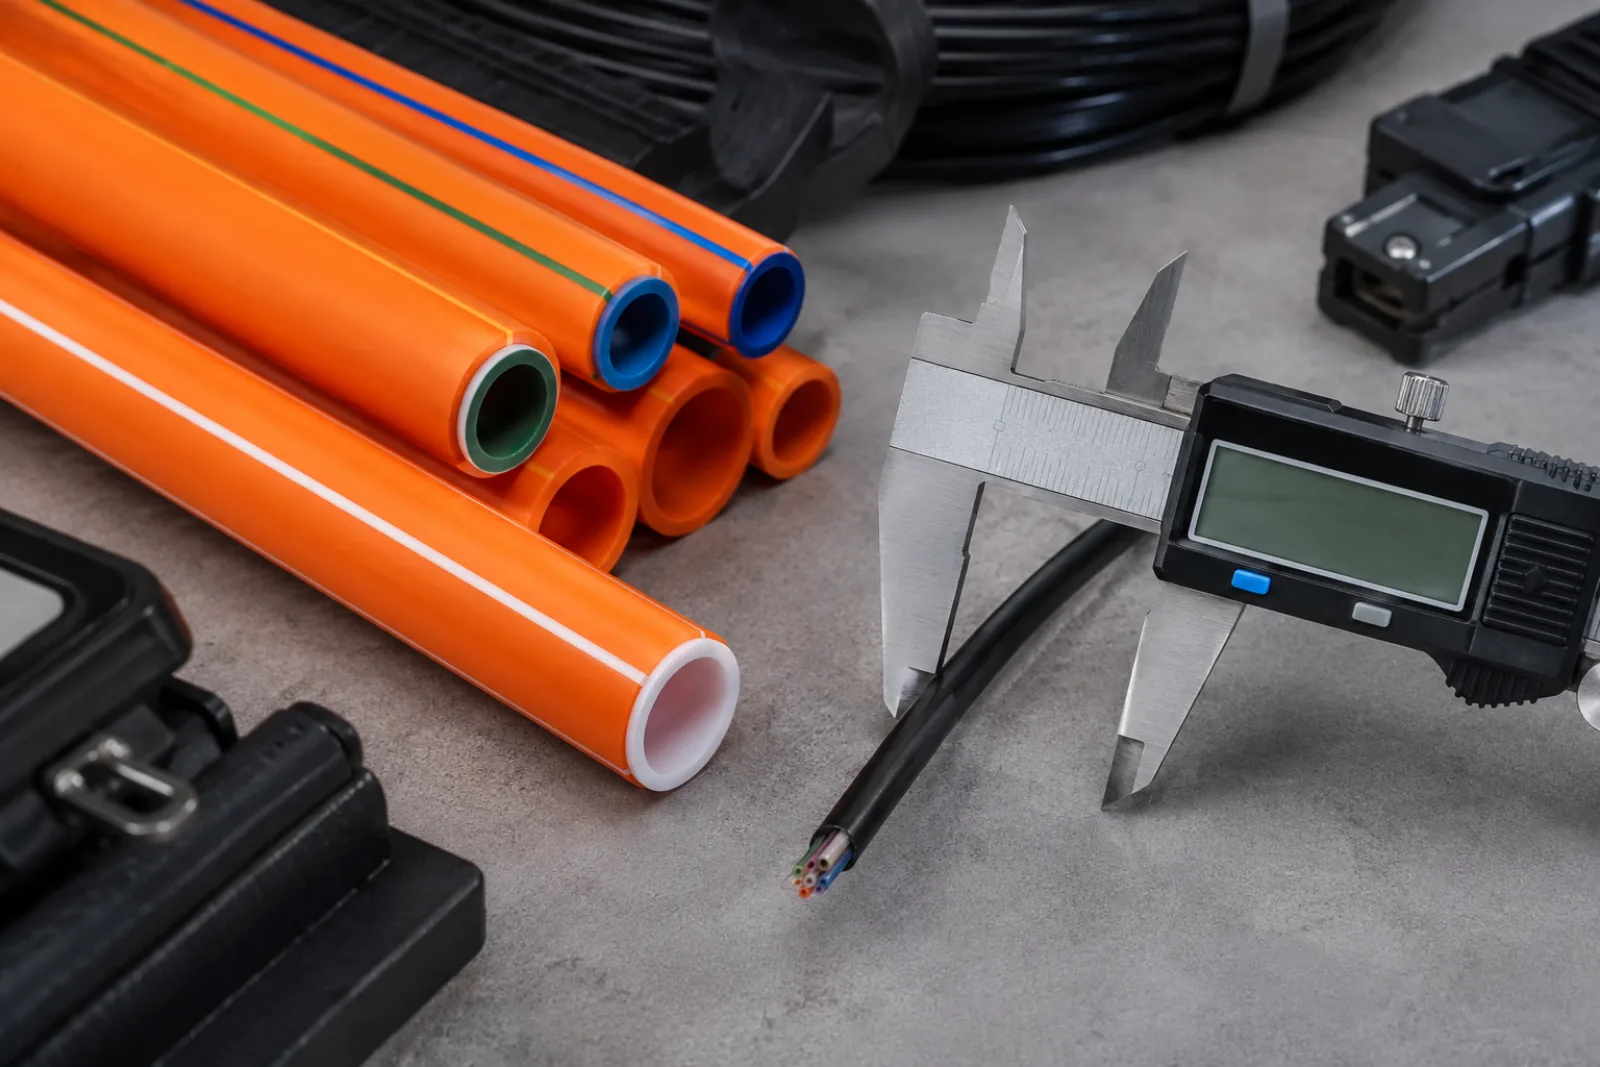
Summary: A practical microduct fill ratio for fiber cable jetting starts with two verified dimensions: the cable outside diameter and the microduct inside diameter. For one round cable in one round duct, divide cable OD by duct ID and multiply by 100. Then check tolerances, annular clearance, route geometry and the instructions for the complete cable–duct–jetting system.
This article provides a procurement worksheet, not a universal installation warranty. The numerical example is hypothetical and should be replaced with approved product data before work begins.
Why the ratio matters
Air-assisted installation needs space for airflow around the cable while keeping the cable sufficiently guided. Corning’s MicroTechnology Solutions Guide recommends a 50% to 80% cable-diameter-to-duct-ID ratio for optimal jetting performance. It explains that excessive fill can restrict airflow and increase friction, while too little fill can allow kinking or buckling.
The range is useful for screening combinations, but it is not a generic standard for every brand. Corning AEN096 identifies other installation variables, including microduct selection, cable construction, lubrication guidance and air-assisted equipment. Always use the stricter project or manufacturer requirement.
Use the correct formula
For a single circular microcable in a circular microduct:
Fill ratio (%) = cable outside diameter ÷ microduct inside diameter × 100
This is a linear diameter ratio. It is different from the occupied-area calculation often used when several cables share a large conduit. Mixing the two definitions can produce a materially different answer, so the worksheet must name the method.
Worked sizing example
Assume a proposed microcable has a nominal OD of 6.2 mm and a published maximum OD of 6.5 mm. The proposed microduct is marked 12/8, meaning 12 mm outside diameter and 8 mm inside diameter. Confirm that convention on the actual datasheet; never calculate with the 12 mm OD.
| Input | Value | Calculation | Result |
|---|---|---|---|
| Nominal cable OD | 6.2 mm | 6.2 ÷ 8 × 100 | 77.5% |
| Maximum cable OD | 6.5 mm | 6.5 ÷ 8 × 100 | 81.25% |
| Nominal radial clearance | 6.2 mm cable | (8 − 6.2) ÷ 2 | 0.9 mm per side |
| Minimum radial clearance | 6.5 mm cable | (8 − 6.5) ÷ 2 | 0.75 mm per side |
The nominal result looks inside the cited range, but the maximum-diameter result exceeds 80%. That is a procurement warning. The team should not round 81.25% down or approve the combination using nominal data only. It should obtain the actual dimensional tolerances, consider the next duct ID and ask the system suppliers to confirm the intended route.
Record dimensions that procurement can verify
A cable description such as “144-fiber microcable” is insufficient. Fiber count does not uniquely determine cable diameter, stiffness or blowing behavior. The purchase record should state construction, nominal and maximum OD, minimum bend radius, maximum installation tension, temperature range and the approved installation method.
Likewise, record the microduct ID and OD separately, plus tolerance, material, internal surface, pressure rating, coupler type and installation environment. Corning’s fill-ratio calculator reinforces that inner diameter and cable diameter are the relevant sizing inputs, while noting that fill is only one planning variable.
Do not confuse marking with usable bore
A 12/8 marking normally communicates 12 mm OD and 8 mm ID, but product conventions and tolerances must be checked. Ovality, deformation at bends, poor coupler alignment or debris can reduce the effective path even when the catalog ID appears adequate. Inspect and prove the installed pathway rather than treating the label as a completed acceptance test.
Check the route, not just the straight sample
Map total route length, elevation changes, bends, joint locations and access points. Record bend radii rather than writing “gentle bends.” A combination that jets well through a clean laboratory coil may behave differently in a buried route with tight changes in direction.
Couplers should preserve alignment and pressure integrity. Dirt, water and damaged ends add resistance and can harm the cable. Establish procedures for duct proving, cleaning and sealing before the cable arrives. If the route is divided into blowing sections, document the intermediate handling and slack plan.
Separate screening from installation approval
At this stage, add a tolerance sensitivity line rather than relying on a single quotient. If the duct supplier states an 8.0 mm nominal ID with a negative tolerance, calculate with the smallest permitted ID. Combine it with the largest permitted cable OD. That worst-dimensional case is the combination most likely to restrict airflow and clearance.
For example, if the 8.0 mm duct may be 7.8 mm and the cable may reach 6.5 mm, the ratio becomes 83.3%. That is materially different from the 77.5% nominal calculation. The example does not say the products will actually arrive at both extremes; it shows why purchasing must resolve tolerances before approval.
| Decision stage | Evidence | Appropriate conclusion |
|---|---|---|
| Desktop sizing | Verified OD, ID and tolerances | Combination is a candidate |
| Route review | Length, bends, couplers and environment | Risks and section plan identified |
| System confirmation | Cable, duct and equipment instructions | Method and limits agreed |
| Field trial or installation | Recorded pressure, force, speed and observations | Actual section outcome documented |
Do not publish a claimed jetting distance from the fill calculation. Distance depends on the whole system. A supplier’s result for another cable, duct, route or machine is not evidence for this project.
Build a purchase and pre-start checklist
Confirm drum length against the planned blowing sections. An apparently economical long drum can create avoidable handling if the route requires intermediate access, while unnecessary joints add their own operational burden. Record permitted cable payoff direction, drum storage condition and any temperature conditioning required before installation.
The installation method should define how pushing force or cable force is limited and monitored. Air pressure alone is not the complete control variable. Follow the equipment and cable manufacturers’ limits, stop for abnormal speed or force, and never improvise pressure equipment or bypass guards. The crew should know the safe stop conditions before starting.
Ask the cable supplier for the exact dimensional tolerance and drum data. Ask the duct supplier for actual ID tolerance, compatible couplers and any lubrication restrictions. Ask the equipment provider for pressure, airflow, cable-force and safety limits. Reconcile conflicts before issuing the final method statement.
The commercial fiber optic cable supplier page is the right place to discuss cable construction, diameter, packing length and project documentation. Specify the duct system and route rather than requesting only fiber count.
For broader pathway planning, see our fiber cable bend radius for duct pulling guide. Although pulling and jetting apply different forces, both require documented geometry and cable limits. Our fiber cable mechanical test explainer clarifies why a qualification test value should not be copied directly into a field installation limit.
What to put in the final worksheet
Include a sign-off column for design, procurement and construction. Design confirms capacity and route assumptions; procurement confirms ordered dimensions and revisions; construction confirms that delivered markings and pathway conditions match the plan. This prevents a technically correct calculation from being attached to a substituted product.
After installation, record the actual section length and any deviation from the planned method. Do not turn one successful section into an unsupported universal claim. Use the record to improve the next section only when cable, duct, equipment and route conditions are comparable.
Record product identifiers, revision-controlled datasheets, cable OD range, duct ID range, calculated worst-case ratio, radial clearance, route sections, bend data, couplers, planned equipment and approval owner. Add an exception line for any value outside the selected manufacturer’s guidance.
A sound decision is therefore more than “77.5% passes.” It states which dimensions produced that number, demonstrates the tolerance case, and shows that the actual route and installation system were reviewed. That record gives purchasing and field teams the same engineering basis.
Frequently Asked Questions
Is microduct fill ratio based on diameter or area?
For a single round microcable in a round microduct, the manufacturer guidance cited here expresses fill ratio as cable outside diameter divided by duct inside diameter. Do not substitute a multi-cable conduit area formula.
Is an 80% fill ratio always acceptable?
No. It is the upper edge of a published target range for specific air-assisted microcable systems, not a universal approval. Cable stiffness, duct condition, route geometry and equipment instructions still govern.
Should nominal or maximum cable diameter be used?
Use the project-approved dimensional tolerance or a conservative maximum outside diameter where available. Nominal values alone can hide a clearance problem at manufacturing tolerance limits.
Can lubricant compensate for an undersized microduct?
Do not assume so. Lubricant compatibility and use depend on the duct, cable and blowing-equipment instructions; it cannot correct inadequate annular space or excessive cable stiffness.
Does a good fill ratio guarantee the specified jetting distance?
No. Fill ratio is only one variable. Bends, couplers, cleanliness, moisture, air supply, temperature and cable mechanical behavior can reduce achievable distance.







